Monday, February 25, 2013

Kelly B. Steele

Check out my friend's new Etsy shop here:

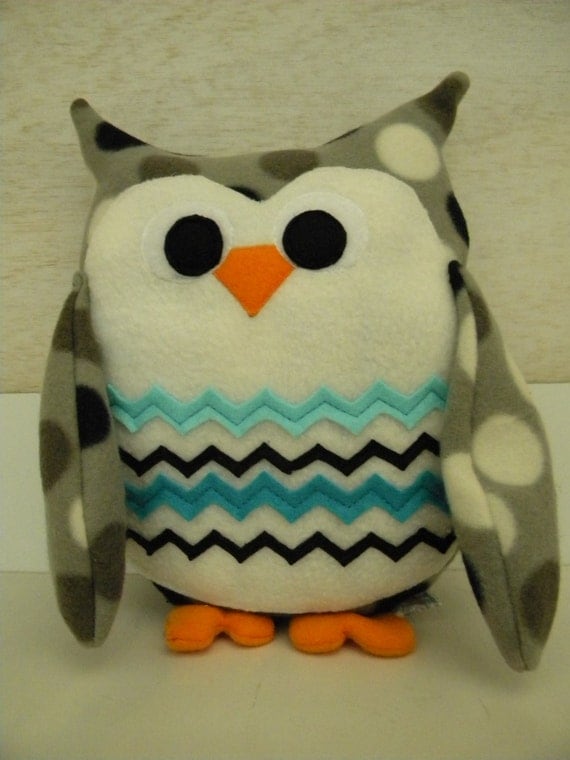
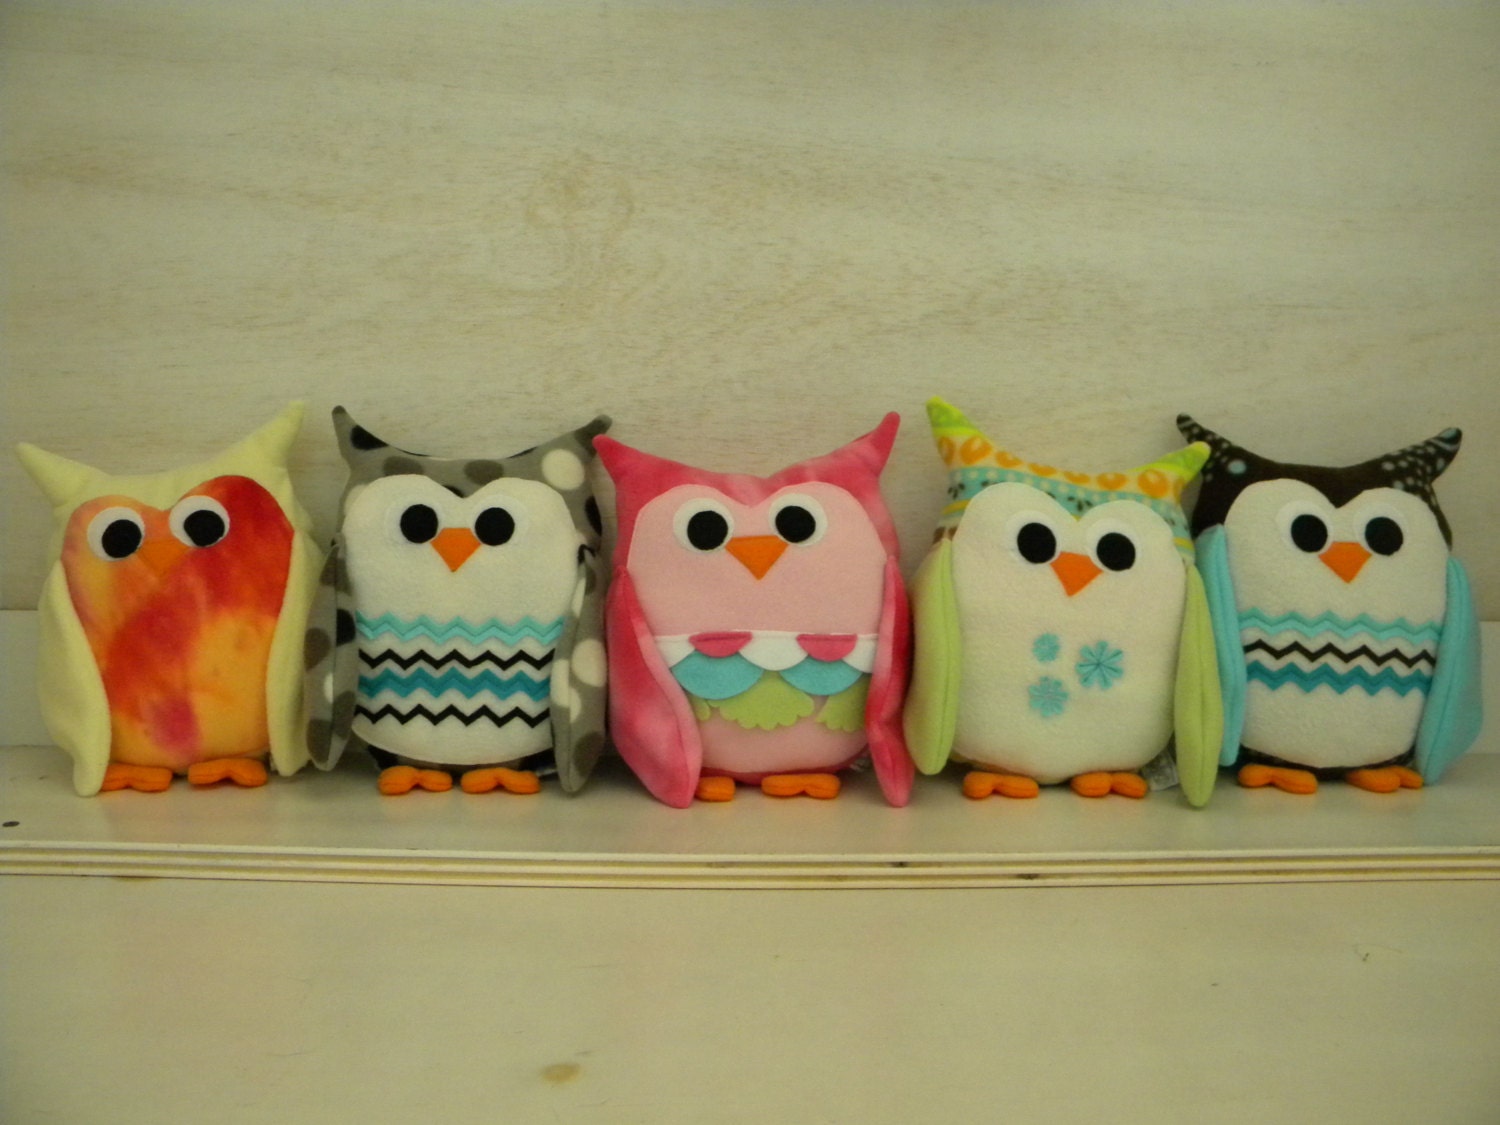
She makes these adorable, handmade, fleece stuffed owls.....

Handmade Yellow and Orange Tie-Dye Plush Fleece Owl

Handmade Gray, Black and White Polka Dot Plush Fleece Owl with Aqua

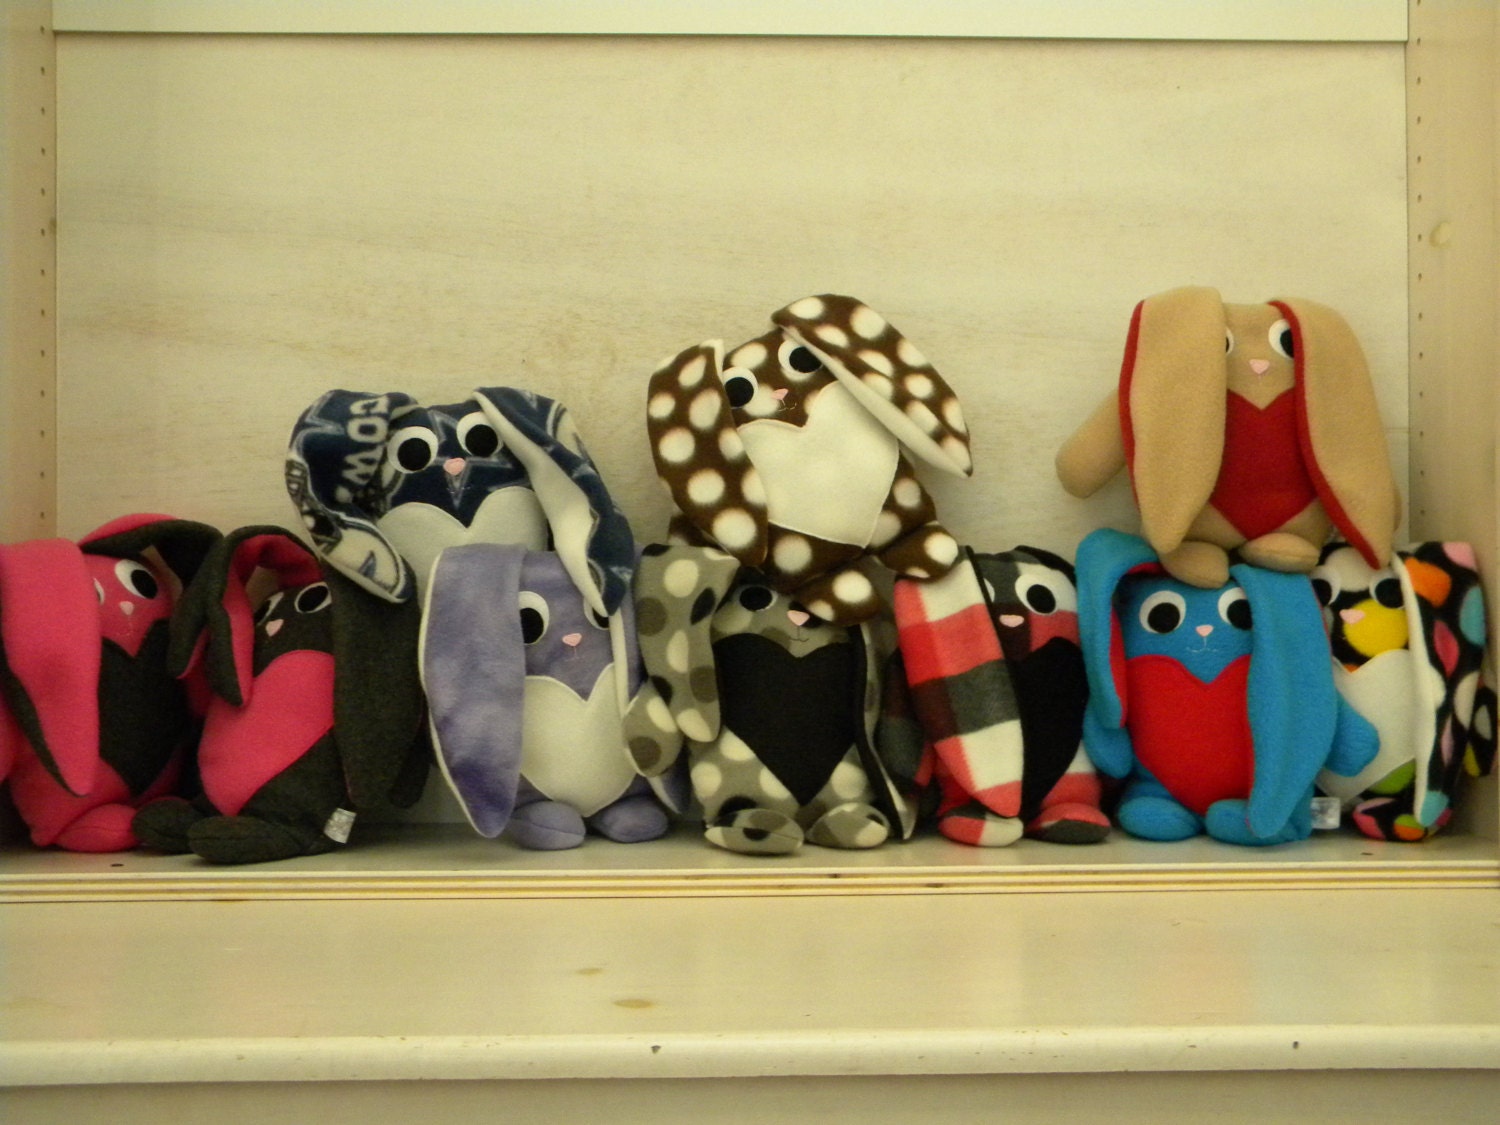
... and bunnies! Perfect for an Easter basket!

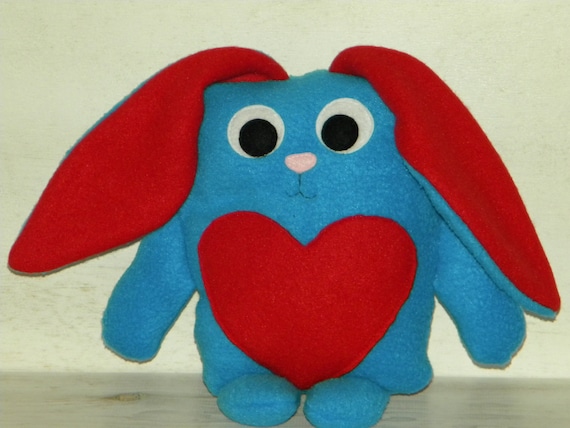
Handmade Blue and Red Plush Fleece Bunny - Fun Easter Gift

Handmade Blue and Red Plush Fleece Bunny - Fun Easter Gift
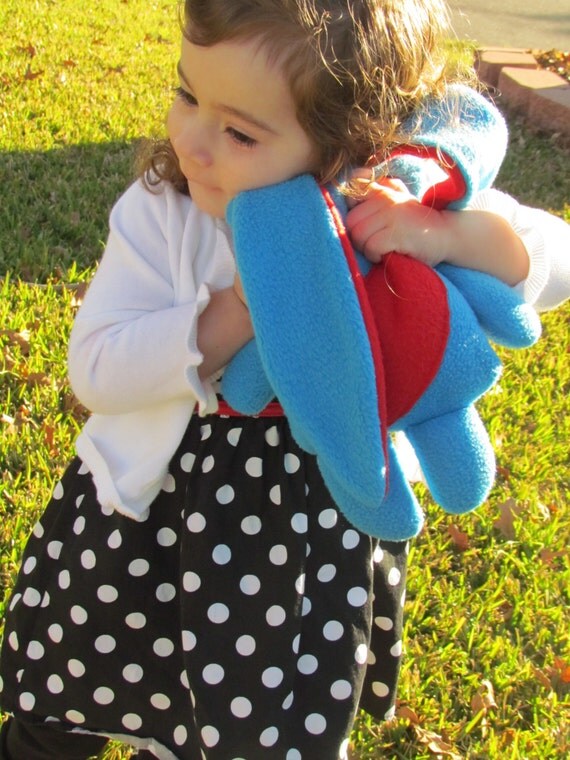
And she has the cutest little model ever! I bought an owl for Sophia and she loves it. It's super soft and just the right size. Not too big, not too small. 

Handmade Yellow and Orange Tie-Dye Plush Fleece Owl


Sunday, February 24, 2013

40% Off Sale At Lifestyle Crafts

Lifestyle Crafts will be having a special sale this week. All templates will be on sale for 40% off! That includes:

And yes! You CAN get 20% off  your purchase with my affiliate code (KAMINSKI).

The sale will run from Monday February 25 through Sunday March 3. 


Saturday, February 9, 2013

Valentine's Day Mantel

Putting all of my little projects together....here is my updated Valentine Mantel. I reused my heart garland from last year.

I used my red candles from Christmas. I also brought out the finials I used last year. I just keep them in my hall closet. 

I also reused my I Love You tags from last year.

Now to start planning my St. Patrick's Day Mantel.
Visit thecsiproject.com

Monday, February 4, 2013

LOVE Canvas


I knew I wanted to make a canvas that repeated the word Love over and over again. Originally I had thought of doing a quote with Love but just couldn't find one that moved me. So I dug through all of my old paintings that I wanted to paint over. Here's one. Yuck! 

So I used gesso to paint over it (kind of like primer for canvases). 

Then I used white acrylic paint to paint over it (in hindsight, I wish I'd used white spray paint).

Next I cut a variety of fonts and sizes of the word Love out of vinyl using my Cricut.

I started with white because I had a bunch. But ran out, so I had to switch to black and then red. 

Then I spray painted the whole thing red.

Then I removed the vinyl, revealing the white background. I wasn't very happy about the clean edges I got from removing the vinyl.

Another way to do this, would have been to spray paint the canvas red. Then, cut the white vinyl letters out and let it be done.


Linking Up With These Great Blogs:

Alderberry Hill,      Tutus and Tea Parties,      The Rustic Pig Designs,      Or So She Says,      My 1929 Charmer,      Super Handmade Sunday @ A Cat- Like Curiosity,      Lil' Luna          Craft Geek,      Simple As That,       House on the Way,      Sassy Sites,      Mindy May's Market,   Skip To My Lou,        Sugar Bee Crafts,      Cheap Crafty Mama,      Be Different, Act Normal,   Homemaker In Heels,     The Busy Bee's,      Fireflies and Jellybeans,    The Shabby Creek Cottage,     30 Handmade Days,     52 Mantels,     The Shabby Nest,     Lovely Crafty Home,  See Vanessa Craft,     Blissful Bucket List,     Bacon Time With The Hungry Hypo,     Lena B, Actually,     Pocket Full of Pink,     Family Ever After,      I Heart Naptime,     Six Sisters Stuff,  Nifty Thrifty Things,     Homemaker on a Dime,     Under The Table and Dreaming,     Flamingo Toes,    It's Overflowing,    Ivy And Elephants,    Clean and Scentsible,    Creations by Kara,     Tip Junkie,      Love and Laundry,      Create. Craft. Love.,     Sarah Dawn Designs,     One Artsy Mama,      Tatertots and Jello,     The Grant Life,     The Hubby Made Me,     Kitchen Fun With My Three Sons,       The Chiffon Diary,     Manic Mother,     The Thriftiness Miss,     Say Not Sweet Anne,     Becoming Martha,     Too Much Time On My Hands,     Destination Craft,     The Dedicated House,      Katherine's Corner,   C.R.A.F.T.,    Fluster Buster,     Nap Time CreationsThe Mandatory MoochLamberts Lately, Made From Pinterest


Sunday, February 3, 2013

Heart Canvas

I knew I wanted to make some sort of heart accent piece for the mantel but my original idea was a bouquet of heart flowers but switched to this heart canvas.

The finished product doesn't really convey all the layering and textures. But believe me, in person, it looks pretty cool!


To make the heart centerpiece, I used the metal sheets that I was able to get from Lifestyle Crafts via Joann's. I just made a heart template out of card stock. Traced it onto the metal sheets and then cut it out.

Next, I ran it through my Sixix machine. All you do is lay the cut out metal heart inside of this embossing folder (it opens up, just like a file folder, just make sure you measure your embossing folder prior to running it through to make sure it will fit. I used a 4 inch heart).

You layer the black pieces on either side of the folder and run it through the embossing machine. 


And here you can see the embossed heart.

Lightly paint it with acrylic paint and let it dry.

After it was dry, I rubbed a distressing ink on top and immediately sprinkled it with an embossing powder.

Then, use a heat gun to seal it and this is what you get. You HAVE to do the drying as soon as possible after you ink it and sprinkle it with embossing powder. Otherwise, it won't work. I learned this technique at The Little Blue House. Love that place! If you're ever in the DFW area, look 'em up. 


Now for the canvas part. I used modge podge and pages from an old book as a base coat.

Then I used food coloring with modge podge to add a pink glaze on top.

Then I used my distressing pad to add some gray to it.


Then I just went crazy with my brushes and bubble wrap.


After looking at the painting for a while, I decided to re-do the center metal heart using a black ink instead of gray.


I added the metal heart in the center. 
That's it! 
Fun! My problem is knowing when to stop. :)


Linking Up With These Great Blogs:

Alderberry Hill,      Tutus and Tea Parties,      The Rustic Pig Designs,      Or So She Says,      My 1929 Charmer,      Super Handmade Sunday @ A Cat- Like Curiosity,      Lil' Luna          Craft Geek,      Simple As That,       House on the Way,      Sassy Sites,      Mindy May's Market,   Skip To My Lou,        Sugar Bee Crafts,      Cheap Crafty Mama,      Be Different, Act Normal,   Homemaker In Heels,     The Busy Bee's,      Fireflies and Jellybeans,    The Shabby Creek Cottage,     30 Handmade Days,     52 Mantels,     The Shabby Nest,     Lovely Crafty Home,  See Vanessa Craft,     Blissful Bucket List,     Bacon Time With The Hungry Hypo,     Lena B, Actually,     Pocket Full of Pink,     Family Ever After,      I Heart Naptime,     Six Sisters Stuff,  Nifty Thrifty Things,     Homemaker on a Dime,     Under The Table and Dreaming,     Flamingo Toes,    It's Overflowing,    Ivy And Elephants,    Clean and Scentsible,    Creations by Kara,     Tip Junkie,      Love and Laundry,      Create. Craft. Love.,     Sarah Dawn Designs,     One Artsy Mama,      Tatertots and Jello,     The Grant Life,     The Hubby Made Me,     Kitchen Fun With My Three Sons,       The Chiffon Diary,     Manic Mother,     The Thriftiness Miss,     Say Not Sweet Anne,     Becoming Martha,     Too Much Time On My Hands,     Destination Craft,     The Dedicated House,      Katherine's Corner,   C.R.A.F.T.,    Fluster Buster,     Nap Time CreationsThe Mandatory MoochLamberts Lately, Made From Pinterest

Saturday, February 2, 2013

Valentine's Day Countdown

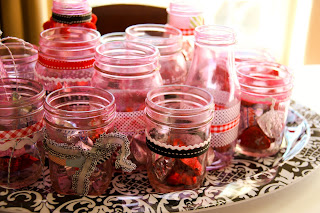
I've been wanting to create a Valentine's Day Countdown for a while and recently I pulled ALL of my crafting stash out to see what I need to get rid of and realized, I have more than 25 bottles saved, just waiting to be used. They are a variety, Starbucks Mocha Frapaccino jars, salsa jars, spaghetti jars, mason jars etc.

So I decided to "dye" them pink. Here's a link for a tutorial. However, this tutorial is not waterproof, so it cannot be used for vases that would have water in them. I never perefected the technique. So mine turned out more streaky.

I have to say, I think my beginning jars turned out better. I used less food coloring and a thinner coating. My jars are by no means perfect. But they are pink!

Then I added washi tape and ribbon to embellish them.


I set them on a tray that I've had for a while. I had used it at Sophia's 3rd birthday party.

So there are 14 jars filled with candy (next time I'll just do 1 or 2 pieces per jar). And each day Sophia gets to pick a jar to "eat".


And we count down to Valentine's Day. She LOVES it so far!!!!! 

Who wouldn't love chocolate each day?????

Linkin up with:
Visit thecsiproject.com