
So here is my sneak peak showing my book club mini-book. To make a long story short, Tricia and I began exchanging books years ago and it started with My Sister's Keeper by Jodi Picoult. After reading that book, I was blown away by Picoult's writing style and also knew I could trust Tricia's book picks ( knew nothing about the book, didn't even read the back cover and the movie hadn't come out yet). So we started trading books. Eventually, we called ourselves the Unofficial Book Club Divas because it's not like we sit around reading the same book at the same time and then pick it apart and debate it. That's not what we're about. We basically recommend books, share them (until someone got a Kindle :)) and tell our friends about our new finds.
Recently, after a discussion on books, I was inspired to create a book that we could log our favorite books in. So basically in this mini-book, we'd write down our own favorites that we'd remember to recommend to friends. I mean, do you know how many good books I've read that I've totally forgotten about? Then people ask for good book recommendations and I go blank.

I want to show you where I got my inspiration from. Over here at my friend Kristy's blog, Next to Heaven. She's so creative and really should be on a design team somewhere.
This is her mini-book that's on her tutorial.

So let me show you how I started (I changed my measurements slightly from Kristy's tutorial and I'm not sure I did the binding right so I had to go rogue on that one).
I used 1 12 x 12 piece of cardstock and cut it in half so I had 2 pieces that now measure 6 x 12. These are the front and back covers.

I folded the end of each 6 x 12 in about a 1/2 inch.

Then I folded the other end over until it touched the 1/2 folded part. Ink all the edges (I used charcoal on one and chestnut on the other).


Next, I glued around the bottom and up the open side to create a pocket.
To show where I got the inspiration for the cover, I have to show you the t-shirt's Tricia's husband made for our book club. Isn't he creative??!! We call ourselves Lovers of the word (not as in Biblical, The Word, but just the written word as in books).

So here's the front cover so far. I added a 6 x 2 1/2 piece of coordinating paper. I added a 6 inch adhesive border by K and Company. Then I added a 6 inch piece of ribbon on top. I used Zip Dry as my adhesive.

Next, I added scrabble letters that I ordered at Golden Impressions on Etsy.
She sells random assortments and I requested certain letters, so she set up a special order for me. Then I thought the letters needed something so I inked the edges, which is hard to do when already glued down, so I should have inked them first.

For the inside pages, they are 5 3/4 x 5 3/4. You can use as many coordinating papers as you like. I used 6 different papers and they are double sided. The thicker the paper, the better. I have a total of 18 pages in mine. You should be able to get 4 pages for every 12 x 12 paper you have. I inked all the edges.

One thing I forgot to do on the first book was score the edges of all the 5 3/4 pages. So don't forget to do that like I did. I just folded them in about a half inch.

Next I used a stamp I got at Hobby Lobby to create papers to journal on.

I cut 3 x 4 pieces of white, light pink, and a darker pink (if you're using a stamp just make sure the paper size and the stamp will work) and printed the stamp (I had 18 pages, so I cut an assortment of the 3).

I inked all the edges.

Next, I bought a book at My Sister's Keeper at Half Price Books to tear up to use in the mini-book.

They are about 3 x4 pieces. I inked the edges.

Next, I made a template to place on all my pages so I'd make sure all the hole punches would align.

I hole punched all the pages.

Here's the template for the cover.
Next, it was time to create the layouts.


I added buttons, adhesive borders, paper, ribbon and paper flowers for embellishments.
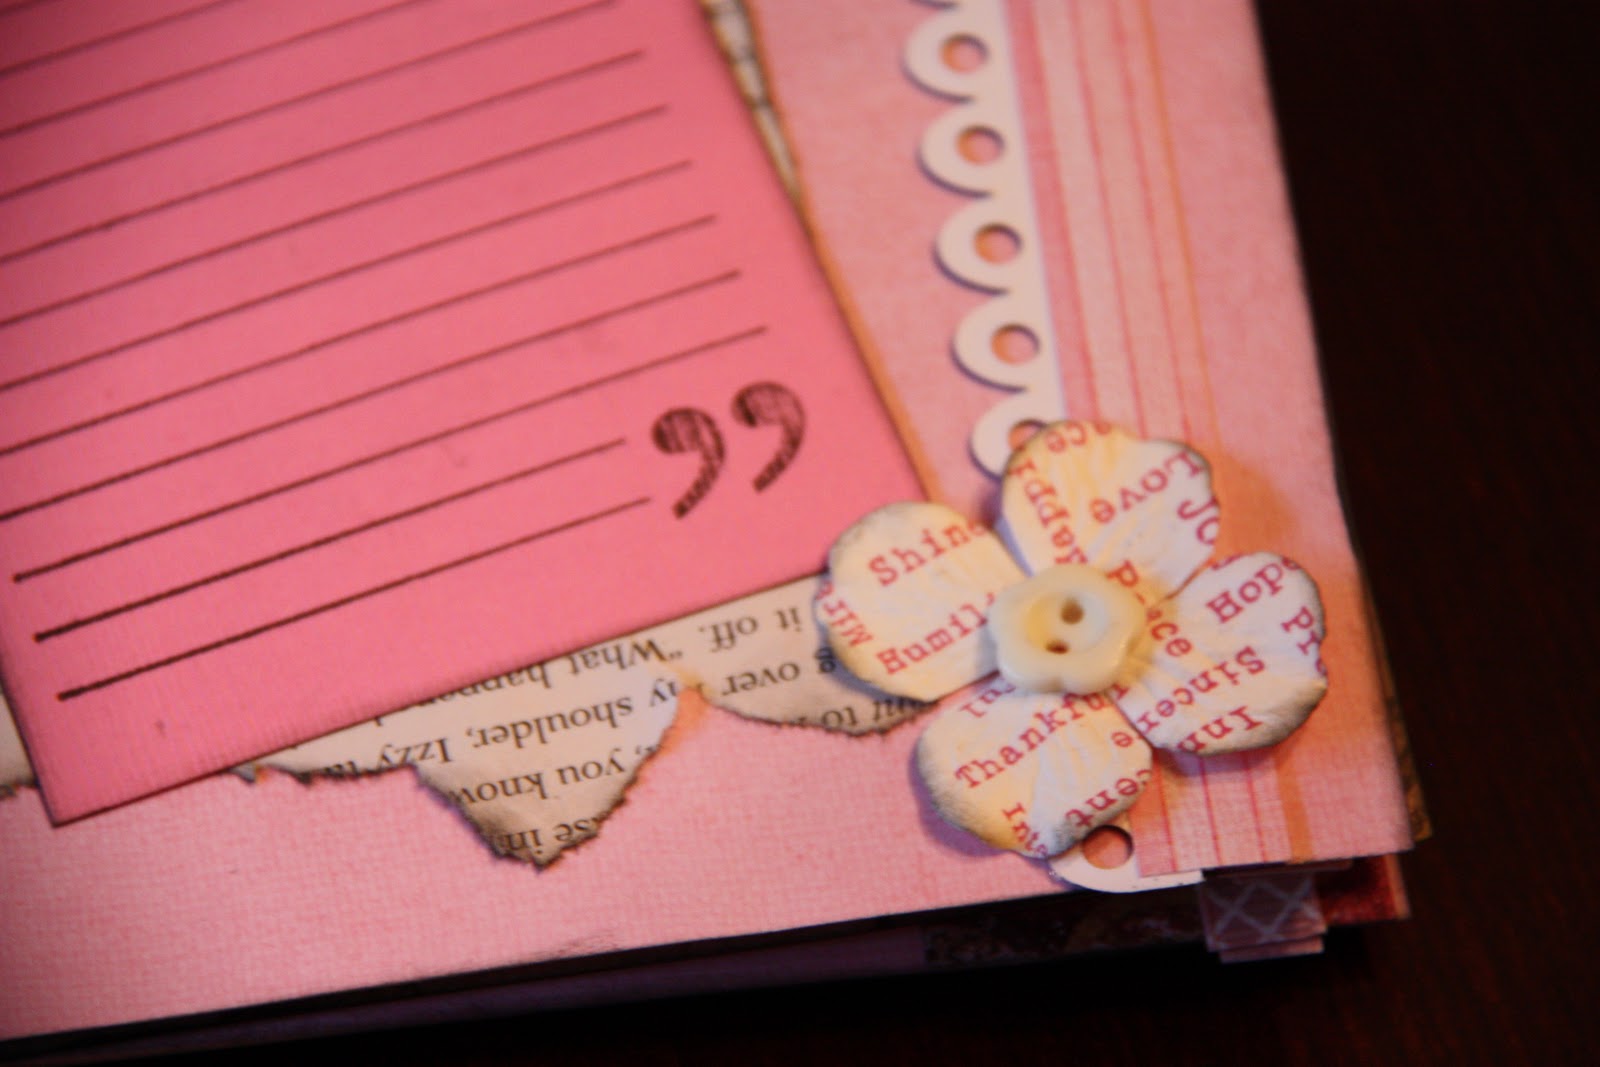
I love these flowers that have words printed on them that I found at Michael's.

Next, put it all together by running ribbon through one set of holes and then feed it through the 2nd set. Tie in the front.


Now for the pockets... I haven't decided exactly how I want to use the pockets in mine but I have a couple of ideas.
Make tags that you can write books that you've loved that you pass along to a friend.


I could make a bunch of blank tags and then as I read a GREAT book, write it on the tage and pass the tag on to someone who might like that book.

Or, I'll keep papers in the front pocket of books I'm going to read.


Maybe use the back pocket for books I hated?? That should be avoided at all costs. :)
So I think that about does it.
Of course, this mini-book idea could be used for just about any purpose.


