Wednesday, August 14, 2013

Today's Pick Your Plum!!! Pearls!

 
Check out today's Pick Your Plum! I think I might just have to hop over there and buy a pink pearl bracelet.


Pearls, Pearls, Everything in REAL Pearls! Pearl Jewels for 70% Off! 
Real Pearls -  Set of 2 bracelets and a matching pair of real seed pearl earrings.

You know what? There's a lot of jewelry out there. How do you choose which is right for you? Turquoise? Big, plastic-y things? One of those big brass necklaces with a bullet casing on the end? It's hard to tell which style is you. But you know what? There's one look that looks great on everyone. Every age.  Every style. Pearls, girls.  Pearls for days. Pearls for nights. Wear them when you want to be the most ladylike gal at the country club. Wear the bracelets with some crazy bangles and look like a rock star. Wear the earrings every single day of your life because girl, you know they're gonna work. So. Get some for you. Get some for your besties. Get some to put in your gift drawer because you know these will make the best favors at a bridal showers. Order up ladies, the world is your oyster.

Pick a set, any set:
  • The Black Pearl (Black) - $5.99
  • Pearly Whites (White) - $5.99
  • Pink Ladies (Pink) - $5.99
  • One of Each - $17.97

The "Juicy" Details:  Each set comes with 2 bracelets and 1 pair of earrings. Bracelets are approximately 3 1/2" in diameter and are strung on elastic to stretch to fit most.  Pearls are a "seed" type pearl; they are very unique; and each one is different. Unique and different just like you...how lucky can a girl get? It's just that awesome!  Lead and nickel free.

Fine Print:  Pearls ship for just $2.99 (for up to 14 orders) and only $7.99 for our Canadian friends.  Packages will be on their way on or before August 23, 2013.

ATTENTION LOCAL CUSTOMERS:  Planning on picking up your order in our warehouse?  Watch for our email - we'll let you know when it's ready.

Monday, August 12, 2013

Washi Tape Birdhouse

I bought this plain white bird house at Joann's on clearance. I always love a good bargain! It sat in my craft closet forever because I just couldn't decide what I wanted to do with it.
 
 As part of a craft contest, I decided washi tape would be perfect to add a little color and pattern to it.


I chose a bright red, geometric patterned tape.

You just have to make sure you line up the patterns (much like sewing).

For contrast, I used a teal damask patterned tape.

But it didn't seem quite finished. So I added a black polka dot tape.
 

I love how just adding a little washi tape can transform a boring birdhouse. Another great thing is that if I decide I want to change colors, the washi tape can be easily removed and replaced.

Linking Up With These Great Blogs:

Alderberry Hill,      Tutus and Tea Parties,      The Rustic Pig Designs,      Or So She Says,      My 1929 Charmer,      Super Handmade Sunday @ A Cat- Like Curiosity,      Lil' Luna          Craft Geek,      Simple As That,       House on the Way,      Sassy Sites,      Mindy May's Market,   Skip To My Lou,        Sugar Bee Crafts,      Cheap Crafty Mama,      Be Different, Act Normal,   Homemaker In Heels,     The Busy Bee's,      Fireflies and Jellybeans,    The Shabby Creek Cottage,     30 Handmade Days,     52 Mantels,     The Shabby Nest,     Lovely Crafty Home,  See Vanessa Craft,     Blissful Bucket List,     Bacon Time With The Hungry Hypo,     Lena B, Actually,     Pocket Full of Pink,     Family Ever After,      I Heart Naptime,     Six Sisters Stuff,  Nifty Thrifty Things,     Homemaker on a Dime,     Under The Table and Dreaming,     Flamingo Toes,    It's Overflowing,    Ivy And Elephants,    Clean and Scentsible,    Creations by Kara,     Tip Junkie,      Love and Laundry,      Create. Craft. Love.,     Sarah Dawn Designs,     One Artsy Mama,      Tatertots and Jello,     The Grant Life,     The Hubby Made Me,     Kitchen Fun With My Three Sons,       The Chiffon Diary,     Manic Mother,     The Thriftiness Miss,     Say Not Sweet Anne,     Becoming Martha,     Too Much Time On My Hands,     Destination Craft,     The Dedicated House,      Katherine's Corner,   C.R.A.F.T.,    Fluster Buster,     Nap Time CreationsThe Mandatory MoochLamberts Lately

Wednesday, August 7, 2013

Creative Memories + Project Life= One Happy Mama

Another part of my organization mission was to get caught up on Sophia's 0-5 year album(s). I still have her 3-5 year pages to do.
 
I had been looking into Becky Higgins Project Life series because it seems simple, quick and meaningful. BUT, I have a HUGE stash of papers/stickers etc. They are are divided into scraps in the first and whole pages by color in the other two. As you can see, I have a bunch of papers to use. I can't see just wasting papers.
 
Plus, I have a ton of Creative Memories pages, page protectors, and 1 album I bought a while back. So I just can't see throwing away 45 Creative Memory pages, page protectors, 1 Creative Memory Album to switch over to Project Life. So I did a little investigating.


And I made my own version. Sorry. I can't waste. I'll switch over once my stash of papers etc. goes down.
 
Here's how I started I bought a multi-set of Becky Higgins Project Life plastic pages (that I eventually will use) on sale. 
 
She usually uses 3 x4, 4, x6 and 6 x6 pieces of paper or photos. I will eventually use these pages once I'm done with Creative Memories. And it was a helpful reminder of layouts as I looked over at the possibilities it  has at the bottom.
 
 
Then, I chose 2 of my favorite paper collections that I could cut into pieces if I needed to. And set them aside (I already have some of these in my scraps)! I went through my scraps first and found any papers that might coordinate with these 2 sets.
 
Side note: As you work, you may begin to realize that you need more paper to complete your layouts, which is why I chose 2 paper collections that coordinated so that I:  a)didn't have to buy new paper but also  b) it all coordinated. So definitely start with a paper collection that you have an abundance of.

Then I went through my scrap box and cut as may 3x4, 4 x6 and 6 x6 pieces that I could.

I also cut a few 3 x4 solid papers that I could stamp with my special stamps I use for writing.


While I was waiting for that to dry, I tried to figure out what pics I wanted to start with.
 
 I looked at Beck Higgins drawings on the cover of her plastic covers and tried to lay them out.
I also used stickers, and scrap booking printables to glue down to either 3 x4, 4 x6 or 6 x6 scrappy papers.
 
Essentially, what I did was create all of the papers that Project Life creates in their collections. Gather your stickers, scrappy cut outs etc and glue them down to a 3 x4, 4 x6 or 6 x6 piece of coordinating paper. I made ALL of my "papers' ahead of time (where I glued things down and pre-cut everything). It takes time, but it's worth it in the long run. It took me about 2 hours to create my pieces.


What I found is even though Higgins says it should be a 3 x4 etc. I found spaces like this where it was a 2 x 6. Not sure why, but it's easy to fix.
 
 
A quick fix is is a 2 x 6. So as long as your papers coordinate and you have extra, you are safe.

I filled any wonky spaces with rick-rack or ribbon and a little Zip Dry.
 
At least this way, I'm using up all of my: A ) all my creative memory 12 x 12 pages, B) Using up my paper/sticker stash and C)using the Project Life process and I'm recording family memories using my scrapping process.
 
But I'm about half way though Sophia's year 3-4 and it's only taken me 3-4 days. It goes so quickly!

Wednesday, July 31, 2013

Organization: The Hall Closet

I finally made time to tackle our hall closet. These are the before pics. The top of the closet isn't so bad, but the further down you go, you can see I've just been throwing stuff in there.  


And here are the after pics.

Yes, I know the green blankets are leaning (I didn't realize it until I looked at the pics on my computer). :)
 
So what I did was basically take everything out. Then I went through the boxes and sorted, purged and reorganized each box by season/Holiday.I put all the banners, lights, and décor into Ziploc bags so that they wouldn't get tangled up.

I have a box for Spring/Summer, Valentine's/St. Patrick's, and Fall/Winter.

I also have a box for party supplies which has party hats, goody bags, balloon weights etc.

The top of the closet holds my candles, Scentsy stuff and my punch bowl (which I'm considering getting rid of. I haven't used it in 7 years).


The next shelf holds all of seasonal/Holiday décor.


The next shelf holds our seasonal pillow covers and pillow cases, party extras and décor extras.
The next shelf holds all of our bedding. I just fold the sheet sets and put them in a pillow case to organize them. I'm sure Martha Stewart would cringe if she saw my linens but it works for me!
 
The bottom of the closet holds all of my extra family photos, European trip photos and my photos from all of my photography classes.

So glad it's over with...now the hard part....keeping it organized!


Monday, July 29, 2013

Lifestyle Crafts Newest Additions

 
Check out Lifestyle Crafts newest additions to their die cutting system!
And check out these die cutting tools that will work with all of your Project Life/Memory Keeper Systems.
 

Don't forget to use my discount code, KAMINSKI,  to receive 20% off. Here's the link here.
 

Saturday, July 20, 2013

Organization Inspiration

I recently read a blog post found here.
 
And I became inspired to tackle some organizational projects that I've put off or simply ignored. Do you ever look around and go "how did my house get this bad"?
 
So I made a list of about 15 areas that I wanted to tackle. I'm hoping to have all of them finished by the time I go back to school in August.
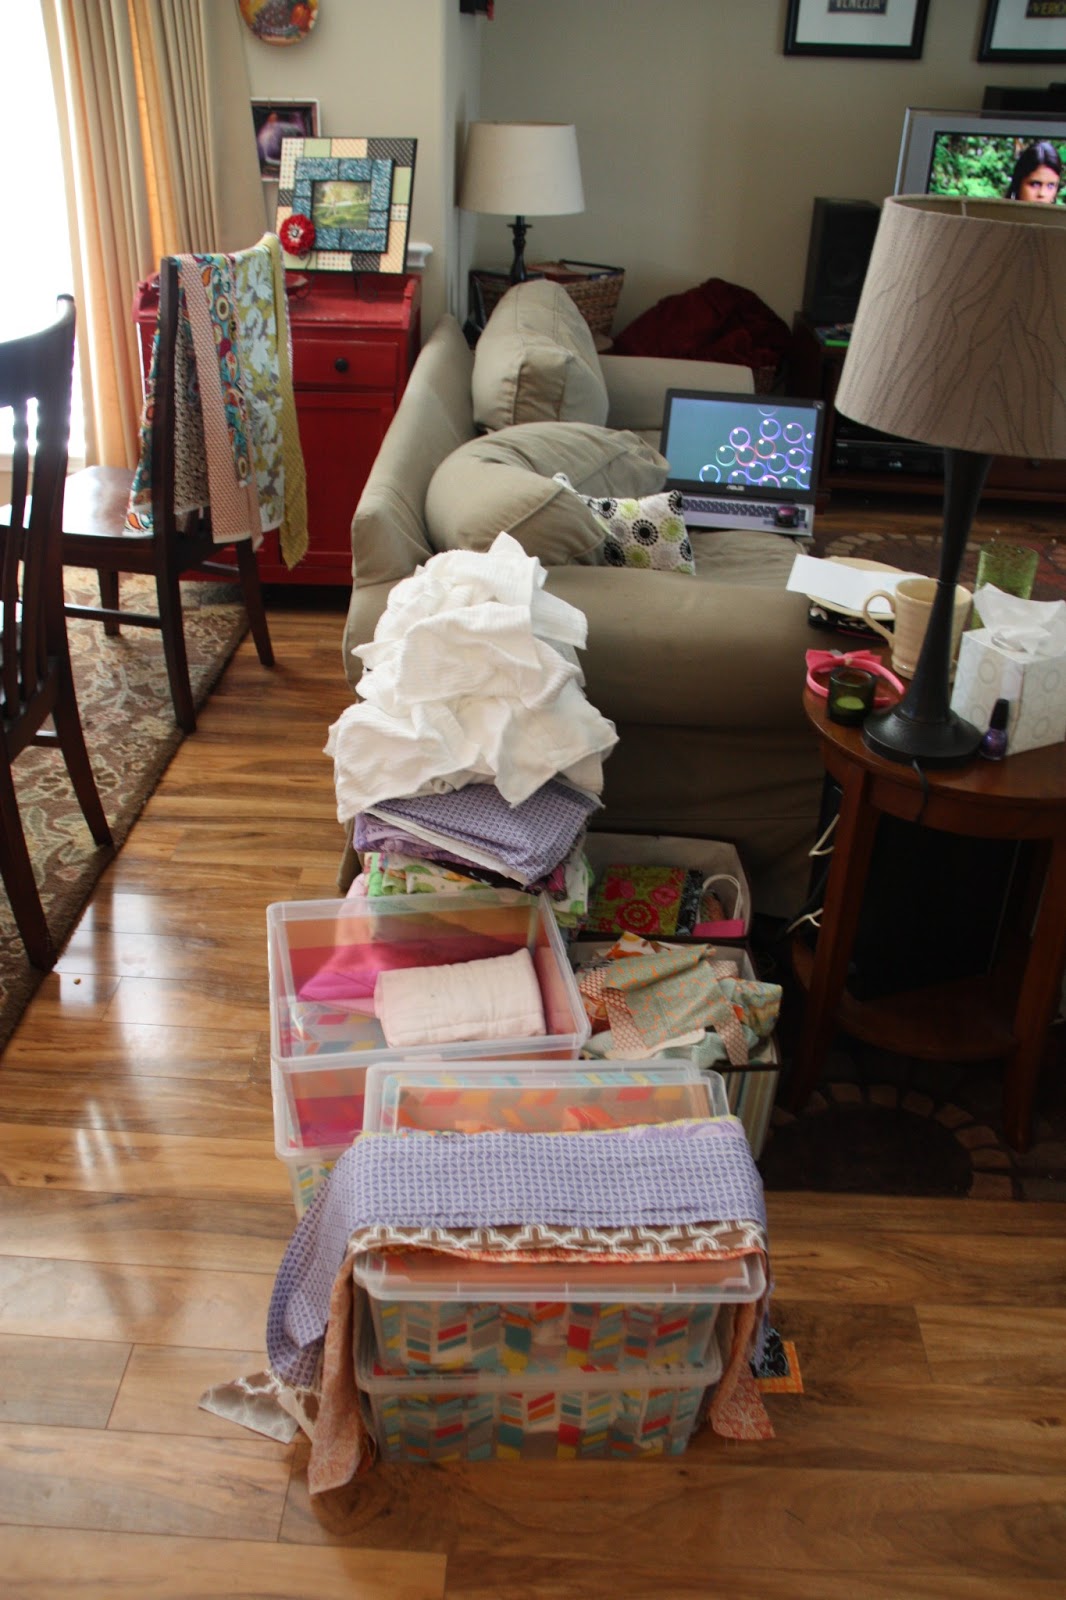
 I started with my craft closet. Here's the before. It doesn't look so bad, but that's because half of what should be in there, is in our living room.
 
As seen here!


I started by taking everything out and sorting my scrapbooking supplies which are on the left. I gave away anything I haven't used in a while. I put my current projects in a basket at the top that's easy to get out when I'm ready to work.

The right side of the closet is devoted to my Etsy shop. I store all supplies and finished products in separate containers so they remain clean and dust free.

The hanging striped shelving in the middle holds scraps of fabrics, patterns, sewing supplies etc. The top shelf that's open holds all of my shipping supplies (envelopes, packing tape, business cards etc. When I get an Etsy order to fill, it makes it very easy to ship it out quickly.


I saw this on Pinterest and decided to try it myself. Super easy! And a great way to organize your fabrics. You just take a hanging file folder, cut it along the fold and use both pieces to hang fabric on.

After talking to my husband about needing a craft room because I spend half of my time getting supplies out to work on something and then spend a bunch of time cleaning up my messes (that usually end up in the living room), he suggested that I buy a craft table to put in the office. Great idea but I'm low on cash, so I just got out our 2 card tables and set my most frequently used supplies out and now it's set up for me to work.


After the craft closet, I tackled the master bath. I was tired of Sophia's bath toys being everywhere.

So I bought a filing crate and threw them all in there. I like that it has holes on the bottom too so that excess water can drain out.

All of her soaps and shampoos got thrown into a basket that I use for my bath supplies.

 
Next up, underneath my bathroom sink. Yikes!

I started by purging anything that was outdated, expired, didn't need/want etc., like these Velcro curlers. I haven't used these in years!

And these razors....I bought them because they were cheaper than the ones I love and I now know why they were cheaper....they are painful! I'll pay more for comfort when I shave.So in the trash they go!

Then I sorted and made a big mess.

I even got rid of nail polishes that I never use.

I already had these baskets that I think I got at Garden Ridge about 11 years ago, so I just moved my various piles of products into containers.

Bathroom drawers are next....before.

After...

 
I am a sucker for lip products. I don't know why. I have rather thin lips, but I'm always looking for the perfect color and if I'm ever in Target, you can bet I'll have at least 1 lip product in my basket. Unfortunately, I've bought more misses than hits. So I decided to get rid of the ones that were misses. I actually tested them all out to make sure.

After....

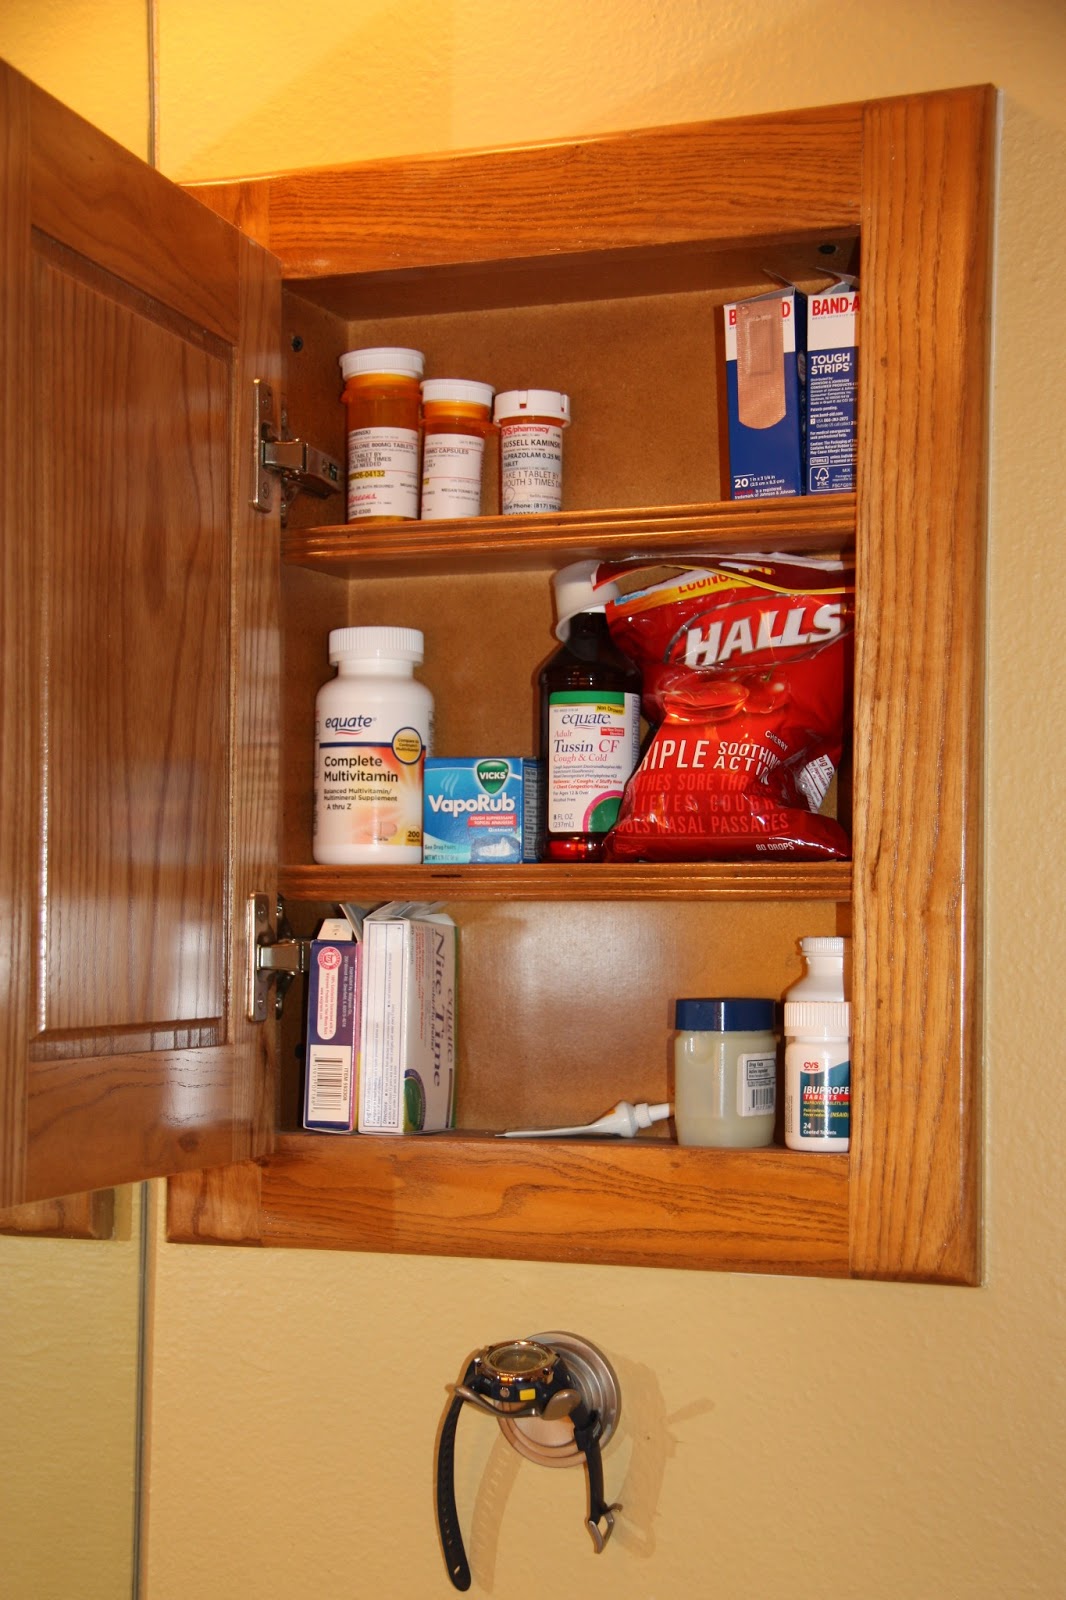
I even went threw our medicine cabinet getting rid of expired products.

 
It felt good to bring some order to this chaotic house.
Right now I'm working on purging. The thing about Pinterest is, it has me saving odds and ends in the hopes that one day I'll use it to create something. There has to be a balance there or I'll end up with a closet full of wine corks.
 
Next up, the hall closet. Wish me luck! It may take a while.