Showing posts with label Lifestyle Crafts. Show all posts

Monday, July 29, 2013

Lifestyle Crafts Newest Additions

 
Check out Lifestyle Crafts newest additions to their die cutting system!
And check out these die cutting tools that will work with all of your Project Life/Memory Keeper Systems.
 

Don't forget to use my discount code, KAMINSKI,  to receive 20% off. Here's the link here.
 

Wednesday, June 26, 2013

Lifestyle Crafts Sale

Hey y'all!
Lifestyle Crafts is currently running a special promo so that you can receive 40% off plus you can enter my code (Kaminski) for an additional 20% off! 
 
The sale will run June 26th - July 3rd. 

These are the items that will be on sale
Shape n Tape: Red, Gold and Navy
Twinkle EF0026  
Hamburger Box Dies DC0239
Food Tray Die DC0447
 
Happy shopping!

Wednesday, May 29, 2013

Lifestyle Crafts

Don't forget, if you want to order from Lifestyle Crafts, you can get 20% off if you use my affiliate code button on the side (KAMINSKI). 
Here's the link.
Happy shopping!

Saturday, April 27, 2013

It's All in the Detailz!

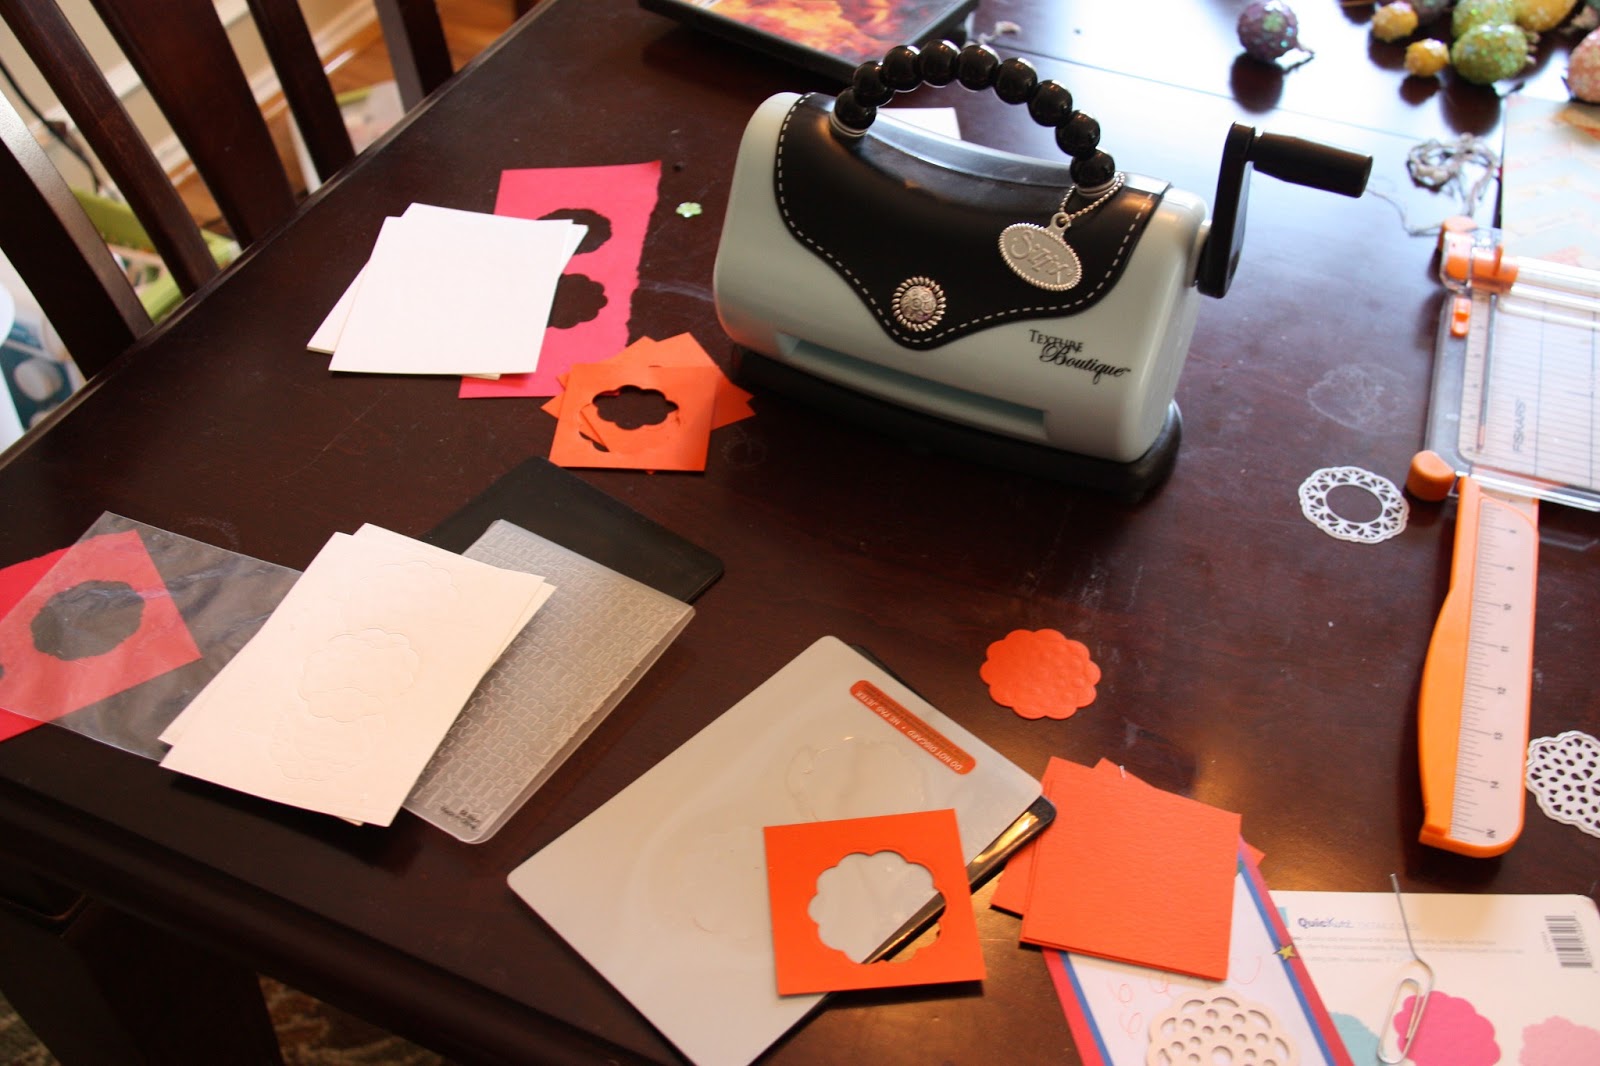
Introducing the new product from Lifestyle Crafts called Detailz. They are part of their die cutting  line. What makes them unique is you can use it to die cut the shape or you can cut the shape and emboss it at the same time. I got to try the Doilies. They work with Lifestyle Crafts machines, but also work with Cuttlebug and most Sizzix machines.

I decided to make a thank you card. I began by cutting a 6 1/2 x 10 piece of scrapbook paper and I folded it in half.

I say it works with most Sizzix products because I have the Texture Boutique and had to play around with it to get it to work. I layered several pieces of the letter press papers and one of my embossing folders to get it to work. But after several attempts I got a nice doilie shape with the embossed design. 

The die set is metal and comes with three different doilies.


Next I used my scraps and found a chevron paper that I love. I used my edging tool to cut the bottom of it and inked the edges with black ink.

Then I layered some washi tape on top.

Then I inked the doilie so you can see the embossed design more and layered it under the washi tape. 

I used my Cricut to cut the word Thanks out of the same orange paper as the doilie. 

Now to decide who I want to Thank! 
Thanks Lifestyle Crafts for allowing me to try the Doilie dies!

Wednesday, March 27, 2013

Lifestyle Crafts


Don't forget, if you want to order from Lifestyle Crafts, you can get 20% off if you use my affiliate code button on the side (KAMINSKI). 
Here's the link.
Happy shopping!

Sunday, February 24, 2013

40% Off Sale At Lifestyle Crafts

Lifestyle Crafts will be having a special sale this week. All templates will be on sale for 40% off! That includes:

And yes! You CAN get 20% off  your purchase with my affiliate code (KAMINSKI).

The sale will run from Monday February 25 through Sunday March 3. 


Sunday, February 3, 2013

Heart Canvas

I knew I wanted to make some sort of heart accent piece for the mantel but my original idea was a bouquet of heart flowers but switched to this heart canvas.

The finished product doesn't really convey all the layering and textures. But believe me, in person, it looks pretty cool!


To make the heart centerpiece, I used the metal sheets that I was able to get from Lifestyle Crafts via Joann's. I just made a heart template out of card stock. Traced it onto the metal sheets and then cut it out.

Next, I ran it through my Sixix machine. All you do is lay the cut out metal heart inside of this embossing folder (it opens up, just like a file folder, just make sure you measure your embossing folder prior to running it through to make sure it will fit. I used a 4 inch heart).

You layer the black pieces on either side of the folder and run it through the embossing machine. 


And here you can see the embossed heart.

Lightly paint it with acrylic paint and let it dry.

After it was dry, I rubbed a distressing ink on top and immediately sprinkled it with an embossing powder.

Then, use a heat gun to seal it and this is what you get. You HAVE to do the drying as soon as possible after you ink it and sprinkle it with embossing powder. Otherwise, it won't work. I learned this technique at The Little Blue House. Love that place! If you're ever in the DFW area, look 'em up. 


Now for the canvas part. I used modge podge and pages from an old book as a base coat.

Then I used food coloring with modge podge to add a pink glaze on top.

Then I used my distressing pad to add some gray to it.


Then I just went crazy with my brushes and bubble wrap.


After looking at the painting for a while, I decided to re-do the center metal heart using a black ink instead of gray.


I added the metal heart in the center. 
That's it! 
Fun! My problem is knowing when to stop. :)


Linking Up With These Great Blogs:

Alderberry Hill,      Tutus and Tea Parties,      The Rustic Pig Designs,      Or So She Says,      My 1929 Charmer,      Super Handmade Sunday @ A Cat- Like Curiosity,      Lil' Luna          Craft Geek,      Simple As That,       House on the Way,      Sassy Sites,      Mindy May's Market,   Skip To My Lou,        Sugar Bee Crafts,      Cheap Crafty Mama,      Be Different, Act Normal,   Homemaker In Heels,     The Busy Bee's,      Fireflies and Jellybeans,    The Shabby Creek Cottage,     30 Handmade Days,     52 Mantels,     The Shabby Nest,     Lovely Crafty Home,  See Vanessa Craft,     Blissful Bucket List,     Bacon Time With The Hungry Hypo,     Lena B, Actually,     Pocket Full of Pink,     Family Ever After,      I Heart Naptime,     Six Sisters Stuff,  Nifty Thrifty Things,     Homemaker on a Dime,     Under The Table and Dreaming,     Flamingo Toes,    It's Overflowing,    Ivy And Elephants,    Clean and Scentsible,    Creations by Kara,     Tip Junkie,      Love and Laundry,      Create. Craft. Love.,     Sarah Dawn Designs,     One Artsy Mama,      Tatertots and Jello,     The Grant Life,     The Hubby Made Me,     Kitchen Fun With My Three Sons,       The Chiffon Diary,     Manic Mother,     The Thriftiness Miss,     Say Not Sweet Anne,     Becoming Martha,     Too Much Time On My Hands,     Destination Craft,     The Dedicated House,      Katherine's Corner,   C.R.A.F.T.,    Fluster Buster,     Nap Time Creations, The Mandatory Mooch, Lamberts Lately, Made From Pinterest

Friday, January 18, 2013

50% Off at Lifestyle Crafts

I always love a good bargain and so I wanted to share the special deal Lifestyle Crafts is offering.....

Starting January 21 and going until January 27, Lifestyle Crafts is offering  50% off (instead of the regular 20% off) of their products!

 It will start at on Monday the 21st at midnight and end Sunday the 27th at midnight Mountain Standard Time. 


So now is the perfect time to try those Lifestyle products that you've been eyeing.

I've been eyeing these metal sheets for a while now. My birthday is coming up....maybe Russell can buy me an early birthday present?
6"x12" Metal

Thursday, November 29, 2012

"Knotty" or Nice

Have you been "knotty" or nice?

Lifestyle Crafts has the perfect gift set for you, regardless of which list you may fall under. :)


I can't wait to try these!


Thursday, November 22, 2012

Black Friday Deals at Lifestyle Crafts

I just wanted to let you know about the Black Friday Deals going on at Lifestyle Crafts.

From November 23 - November 30....they will be offering 40% off of all boarders, boxes and bag dies plus free shipping on all orders over $50 (within the continental US) and they will also be adding sticky thumb dimensionals to every order for free. 

To learn more, see their blog post Lifestyle Crafts Blog. My affiliate code will work ON TOP of the 40% off (just use KAMINSKI when checking out).

They are also offering a special gift set; the Holly Jolly Craft Kit which includes a Revolution Tool, Sticky Thumb Adhesive Runner and three dies (an Elf Stocking Die, Candy Cane Tag Die and Light Bulb Die) all for only $39.99. The Revolution all by itself is regularly sold for $89.99, and all of these together would normally cost $103.96 so it is a really good deal.  

I'm personally eyeing their Sweet and Spicy paper line.....love the color combo. and pattern.

Happy thanksgiving and happy shopping!

Wednesday, November 21, 2012

Last Minute Thanksgiving Decor

I was in need of some serious last minute Thanksgiving Decor. Last week, I finally made time take down our Halloween mantle.

And now it looks like this....sad huh??!!! But who wants to put up a Thanksgiving mantle for a couple of days????

Here's what mine looked like last year (pre-Etsy shop and craft fair). So feeling a little bad for having NOTHING up on the mantle, I was super happy when I received an email from Lifestyle Crafts promoting their downloadable printables....

found here.
When I saw this banner, I knew it would be perfect! It was super quick, easy and simple to download and it was also FREE! Yes, free! Apparently they offer free downloads periodically. 

They printed theirs out on white cardstock but I chose to print mine on brown craft paper looking cardstock. It printed in brown ink and complimented the paper perfectly.


It shows you on the printable where to cut. Next I cut out 5 x 5 pieces of scrapbook paper ( I raided my scraps for anything with orange).

I rounded the corners.

Inked the edges.

Glued my letters down and punched holes in the corners.


Then I tied together all of my letters using a roll of very thick twine.

I added orange ribbons of varying textures to the ends.


Instead of hanging it on our mantle....I hung it on our family frame.