Saturday, December 3, 2011

Christmas Trees

Thanksgiving weekend, I decided to try to make the trees I've been seeing all over Pinterest. All I could find were Styrofoam tree forms. I wrapped them with paper to create more of a point at the top and to match the color of the tissue paper I was using. 
I started with the lime green tissue paper first. I cut it into 1 1/2 inch strips and twisted them into long rope-like pieces. I didn't have any lime green paper, so I just used a light blue. Using my hot glue gun, I glued each rope-like piece on, one by one. The blog where I read how to do this wasn't lying when she said this was time consuming.

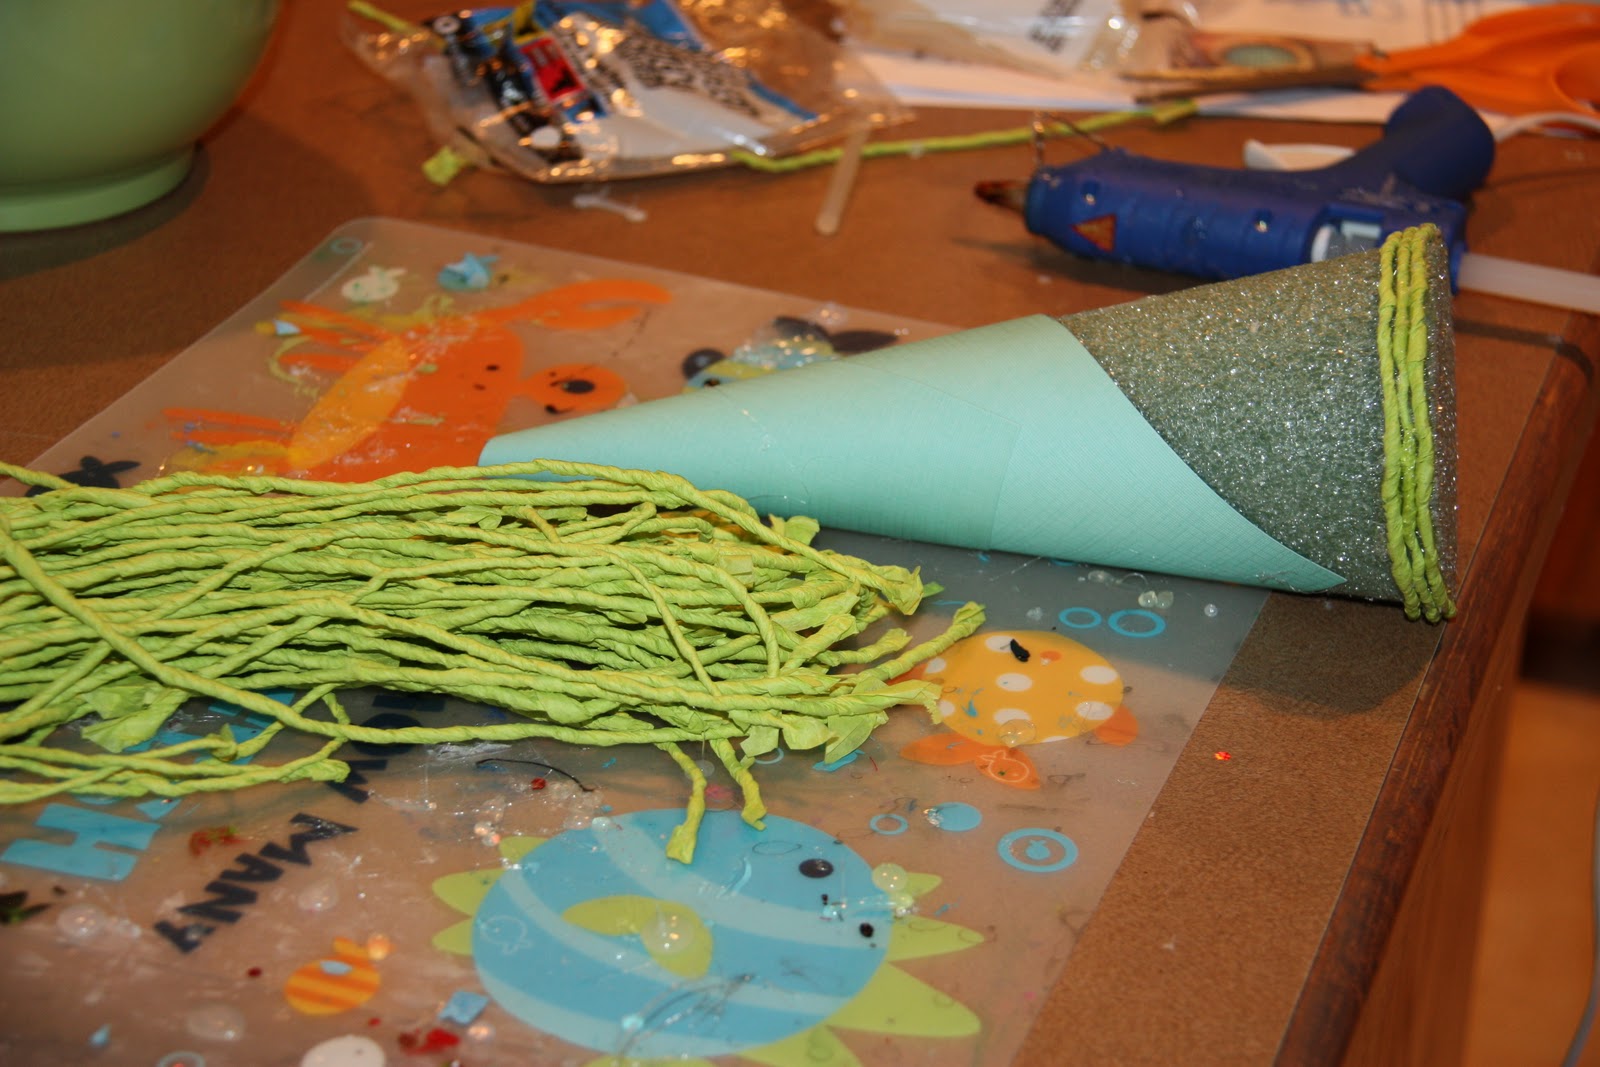


Don't worry, when the tree is on the mantle, you can't see the blue paper through the tissue paper.

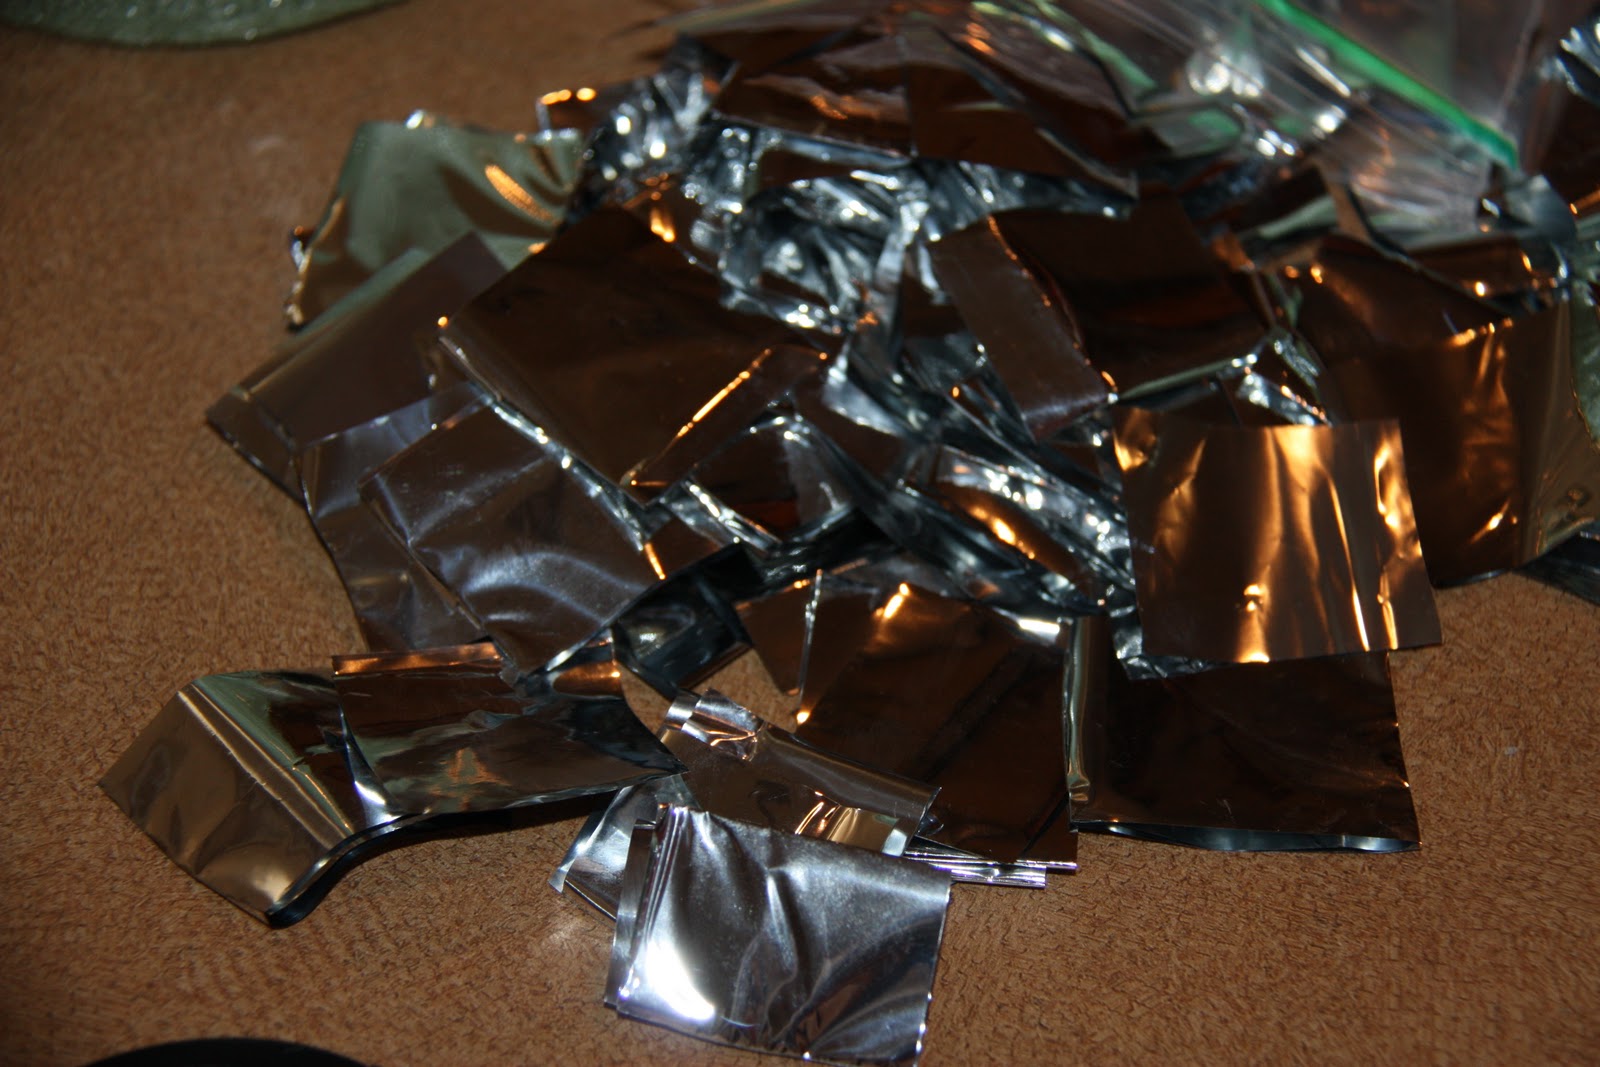
I also made one using 1 x 1 inch squares of tissue paper. The tissue paper I found was a metallic shiny finish, almost like Mylar. I got it at Target. Using a pencil, I wrapped the square around the eraser end of the pencil and twisted it a little. Then I hot glued it on. 


The next tree I made was one where I cut a million individual shapes using a punch. It was the scalloped circle punch by Fiskars. 

Then I glue on each piece.


I used a pencil to wrap each piece to give it that curve. Towards the top, I had to cut the scallop shapes down, as the full scallops were too big to fit.

Here's my finished trees!


And the completed mantle!


And the Christmas cards have started to arrive for our Christmas card holder!


Friday, December 2, 2011

Blog Makeover

As I've been contemplating starting an Etsy business, I've decided that I wanted to update my blog to match what my Etsy store banner will look like. I want them to coordinate. So as you can see, I've made some changes to the blog background and banner.

Tuesday, November 29, 2011

Jingle Bell Jar???

For now, I'm calling this project A Jingle Bell Jar.....but I've also considered Santa's Watching Jar or just Jingle Jar.


Basically, we bought this fish bowl at the end of Oct. when my daughter got a free gold fish at a Halloween carnival. Of course, that fish died. So we bought 2 more and then they died too. So we've abandoned any hopes or dreams of having fish in this fish bowl. So what to do with a fish bowl?

Turn it into Santa? Use it to reward a 3 year old for good behavior?

I used a marker made to write especially on glass to trace this coloring page onto the front (I know I could have just drawn it myself. But hey, this saved time. I just taped the picture to the inside of the fish bowl).

Then I painted his beard using enamel paints. I used glossy. I really liked the thickness and coverage this product gave.

I just used regular acrylic craft paint for the skin and red (hard to see on the pic, but the coverage was much more solid with the enamel paint).Then I outlined everything again with the black glass marker pen.

I bought a toddler Santa hat at Hobby Lobby for $1. Then I bought some jingle bells that Sophia picked out at Michael's.

I explained to her that Santa is really busy this time of year and we really want to make sure he hears that she's been a good girl. So whenever she makes a really good choice or does a really good deed, she gets to pick a jingle bell, ring it (so Santa hears her being a good girl) and then she places it in the jar. 

We'll see if this improves her behavior. But really, I just needed to do something with that fish bowl. 

Now for the name....what's your vote? Jingle Bell Jar? Santa's Watching Jar? Jingle Jar? Or do you have any other suggestions?

Monday, November 28, 2011

Believe

I saw this idea on Pinterest via Blue Eyed Blessings and got inspired to make this shadow box. It's basically a shadow box (lined with scrapbook paper), filled with jingle bells. We LOVE the movie Polar Express so I decided to write Believe on the front with vinyl letters. I wrapped some ribbon around it and it's ready to display. 


Sunday, November 27, 2011

A Christmas Wreath

Can I start off this post by saying how much I hate glue guns??? 

I guess I'm just careless, get distracted, use too much glue at once or my glue gun just stinks?? But by the end of my wreath making, I had 2 blisters that hurt really, really bad. Ouch!


Moving on to the wreath. I've been seeing these wreaths all over Pinterest and finally decided to make one myself.

I wrapped it in red cloth, using hot glue to attach it.


Then I hot glued a variety of silver and red ornaments around the outside edge and inside edge. This is the back side.

Then I flipped it over and started adding a variety of sizes and finishes (some were shiny, some matte, some glittery) in just silver and red.


And this is the point right before I burnt my fingers. After this I took a 2 hour break and finished it up later.

Here's the finished product. I used a pale blue ribbon to attach it to the black frame. The black frame is just a cheap frame from Joann's with a variety of ribbons stapled gunned to the back. 


Linking up with:
Visit thecsiproject.com


Saturday, November 26, 2011

A Christmas Card Holder

Here's our "new" Christmas card holder. It's really just an old frame that I spray painted silver. I added some cut ribbon with a staple gun. I bought mini-clothespins at Hobby Lobby and spray painted them silver. Now we just have to wait for this Christmas cards to start rolling in to fill it up. :)

Friday, November 25, 2011

A Dream Come True!

It has been a life long dream of mine to have my own gallery to show my artwork. Then, when Sophia came along, I decided I wanted a mother/daughter/and daddy art gallery to showcase our latest creations. I started this project during the summer. You can see my tutorial here at Family Art Gallery. And you'll also see the comedy of errors on my part that killed my husband's grass in the process.

He said he'd hang it up for me when he got ready (as punishment for killing his grass, he said it might not be until December).


But lucky me! He just finished installing it in our office. So now he can start installing his village.

A dream come true! Thanks Russell for finally getting around to hanging it. And sorry about the grass.

Sunday, November 20, 2011

Christmas Advent Calendar


Last year, my good friend Kristy over at Next to Heaven  and The No-No Room, sent me a link for this really cute advent calendar from  Making Memories. I loved it! Bought it! And then it sat in a box until this Christmas. The main reason...I didn't know where I was gonna hang it. No room on our mantel. 

So...I decided to mount them on foam board covered with red fabric.
I used no liquid glue. Don't do that! When it dried you could still see where I applied the glue. So I wrapped it again and just used glue on the back.

The kit was really easy to put together. I just used my Cricut to cut out brown letters and used Glossy Accents on top. I hot glued ribbon to the back so I can hang it on our living room wall.

I printed out little activities for us to do each day, such as, watch a Christmas movie, make Christmas cookies, visit Santa, etc. I attached a little ribbon on the end with a staple so it would be easy to get out of the envelope.

Can't wait for the countdown to begin!